
A RAID 1 rebuild is not just swap the drive and click rebuild. It is a high-read event that puts the surviving disk under sustained stress. If that disk has weak sectors or underlying degradation, a rebuild can be the moment everything collapses.
The objective is to rebuild only when the remaining member is stable and the array metadata is clean.
If you see read errors, missing volumes, or repeated degradation, treat it as a recovery scenario and move to imaging and controlled reconstruction instead of resync pressure.

Before You Rebuild: Confirm the Failure and Protect Data
Before you trigger any rebuild, validate what actually failed. RAID 1 is simple, but rebuild mistakes are not.
Confirm the state, not the assumption
Check the RAID manager and logs to confirm:
- Which disk is marked failed vs offline vs missing
- Whether the array is still consistent
- Whether the surviving disk shows read errors or timeouts
- If you see I O errors, do not rebuild. That is already drifting into recovery territory.
Protect data before you resync
If the volume is accessible:
- Take an immediate backup of critical data
- Reduce workload on the array
- Stop non-essential services that increase reads
If the volume is not accessible or files are missing, stop rebuild attempts. At that point, the priority is controlled recovery, not resync.
Industry Certifications
Trusted by leading organizations and certified by industry authorities


Safe Rebuild Prerequisites Checklist
Use this as a gate. If you cannot clear these checks, do not start a rebuild.
- Confirm the RAID 1 state is degraded and the correct disk is flagged failed, offline, or missing
- Verify the surviving disk is stable in logs and SMART, with no serious warnings
- Confirm the array stays online consistently, no random member drops
- Reduce load on the array before rebuild to limit read stress
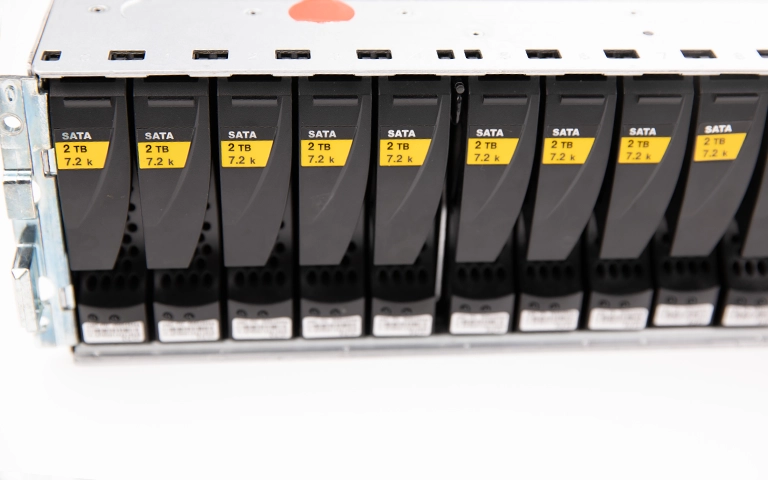
- Use a replacement drive with the correct interface and equal or larger capacity
- Confirm controller settings and firmware are stable, no recent resets or config changes
Step-by-Step: How to Rebuild RAID 1
Step 1: Freeze change and reduce load
Pause non-essential workloads and avoid reboots. The surviving disk is your single point of failure during rebuild.
Step 2: Confirm the active member
In your RAID manager, verify which drive is healthy and serving data. Do not rely on guesswork or bay order.
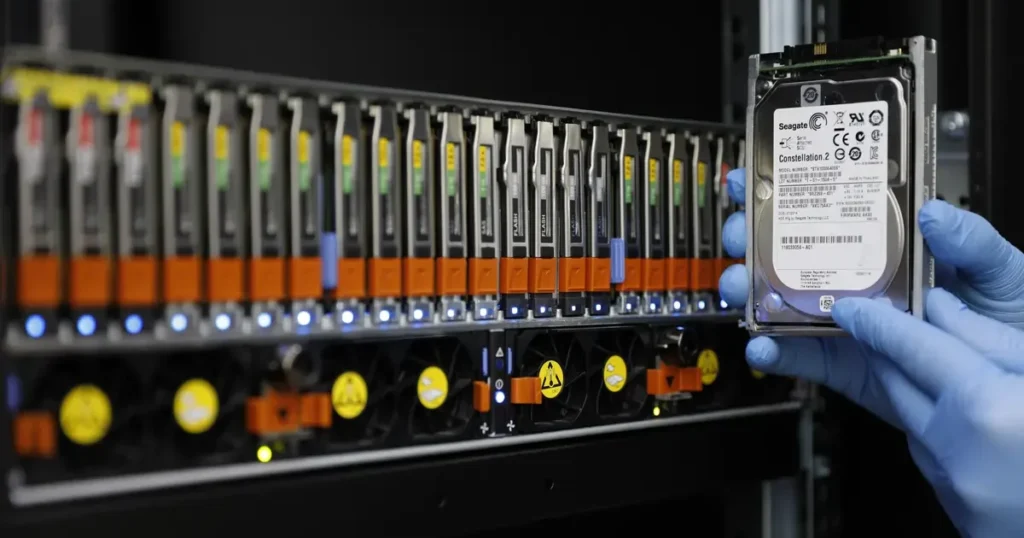
Step 3: Replace the failed drive correctly
Hot-swap only if your system supports it. If not, power down cleanly, replace the drive, then boot.
Step 4: Start the rebuild in the RAID manager
Initiate rebuild or mirror resync from the management interface. Keep the configuration unchanged during the process.
Step 5: Monitor rebuild health, not just progress
Watch for:
- Read errors and timeouts
- Rebuild pauses or restarts
- Member dropping offline
If any of these appear, stop forcing retries.
Step 6: Validate after completion
After rebuild finishes:
- Confirm array status is healthy
- Run file-level validation on critical datasets
- Review logs for corrected errors that suggest the surviving disk is deteriorating
Quick note:
a “successful rebuild” does not automatically mean “healthy data.” Validation is the final control point.
Don't Let Data Loss Ruin Your Business
Minimize business disruption. We retrieve lost data fast, so you can focus on what matters.
Common Rebuild Errors and What They Usually Mean for Recovery
Rebuild stuck or resync paused
This often means the surviving disk is encountering unreadable sectors or timing out under sustained reads. From a recovery standpoint, it signals instability and a shrinking safe window.
Drive not a member or foreign configuration
The controller sees metadata that does not match the expected mirror. In recovery terms, wrong clicks here can overwrite or replace array metadata and complicate reconstruction.
Degraded again during rebuild
A member is dropping offline during the most intensive phase. For recovery, this is a high-risk indicator that the healthy disk, replacement disk, or the connectivity path cannot stay stable.
Wrong size drive or insufficient capacity
The replacement disk is too small or reports less usable capacity. For recovery, this is usually a configuration and hardware compatibility issue, not data loss, but it can block safe rebuild attempts.
Array online but volume missing
The mirror may be present, but the file system or OS-level mount is failing. From a recovery view, treat it as logical damage and avoid repair actions until stability is confirmed.

What Not To Do During a RAID 1 Rebuild
Do not start a rebuild if you are seeing read errors, timeouts, or repeated member drops. A rebuild under instability is not maintenance, it is accelerated failure.
Do not “force” resync cycles, reboot repeatedly, or keep reseating drives to chase a rebuild that keeps pausing. That pattern typically increases stress on the surviving disk and reduces recovery headroom.
Do not clear, reinitialize, or “accept defaults” on any prompt related to foreign configuration or array metadata unless you are 100 percent certain what it will change. One wrong click can overwrite the information needed to reconstruct the mirror.
Do not run file system repairs while the array is degraded or rebuilding. Fixing the volume on top of an unstable mirror can compound corruption and make recovery more complex.
Industry-Leading 99% Success Rate
No hidden fees. No surprises. Just expert data recovery you can trust. We handle everything from simple file loss to extreme data recovery cases. If we can’t recover your data, no one can.
When a Rebuild Is the Wrong Move: Switch to Recovery
Rebuild is the right move only when the surviving disk is stable. If stability is questionable, rebuilding becomes a risk multiplier.
Switch from rebuild to recovery when you see:
- Read errors, I O errors, or repeated timeouts
- The array drops members or keeps returning to degraded
- Volumes mount inconsistently, files go missing, or data is corrupted
- The surviving drive makes abnormal sounds or shows obvious instability
At that point, the safer approach is controlled imaging and reconstruction rather than resync pressure.
Learn more about our RAID data recovery options.
How We Handle RAID 1 Failures in the Lab
When rebuild is risky, the objective shifts to preserving what is still readable and rebuilding the mirror logically without forcing the original drives to keep working under stress.
We typically start by stabilising the member drives and creating controlled images, so recovery work is performed on clones rather than on the originals. This approach reduces the chance of a second failure during extraction and supports consistent reconstruction.
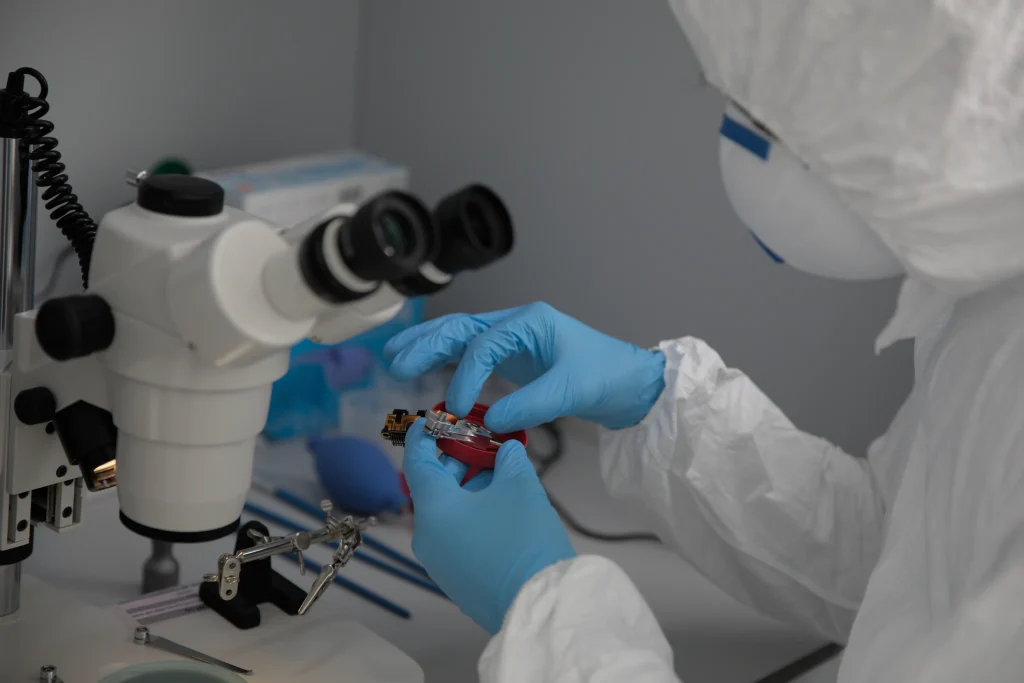
For cases involving physical risk, contamination, or sensitive component handling, a controlled environment matters.
See our certified cleanroom standards.
Contact Us for RAID 1 Recovery Options
If your RAID 1 rebuild is stuck, the array keeps degrading, or files are missing, stop forcing rebuild attempts. The safest move is a controlled recovery plan built around imaging and reconstruction.
Contact us to evaluate the failure pattern and recommend the least-risk path forward. For turnaround, logistics, and support levels, see our service options.
Emergency Data Recovery Services
Unexpected data loss? Whether it’s a crashed system, failed storage device, or accidental deletion, our 24/7 emergency recovery service ensures priority assistance to retrieve your critical data.